Pumpkin carving stencils
Tape it on, trace it, carve the black parts.
Examples temporarily replace the input and settings. You can restore your previous work.
Pro keeps the settings you use every week and puts them one click away. See Pro
Free PDFs end with a small “Made with nouplo.com” line Remove limits with Pro
Save to PinterestYour files stay on your device
This tool runs entirely in your browser. Nothing is uploaded, nothing is stored, and you can even turn off your internet connection before you start.
Example
Example: four animal stencils for 10-inch pumpkins from the patch
A family brings home four carving pumpkins about 10 inches across, one each. Two thirds of 10 in is about 7 in, so: Designs “Cats, bats, owls and more”, Level “Easy — big shapes”, Pumpkin size “Large”, 4 stencils, design set 1, US Letter.
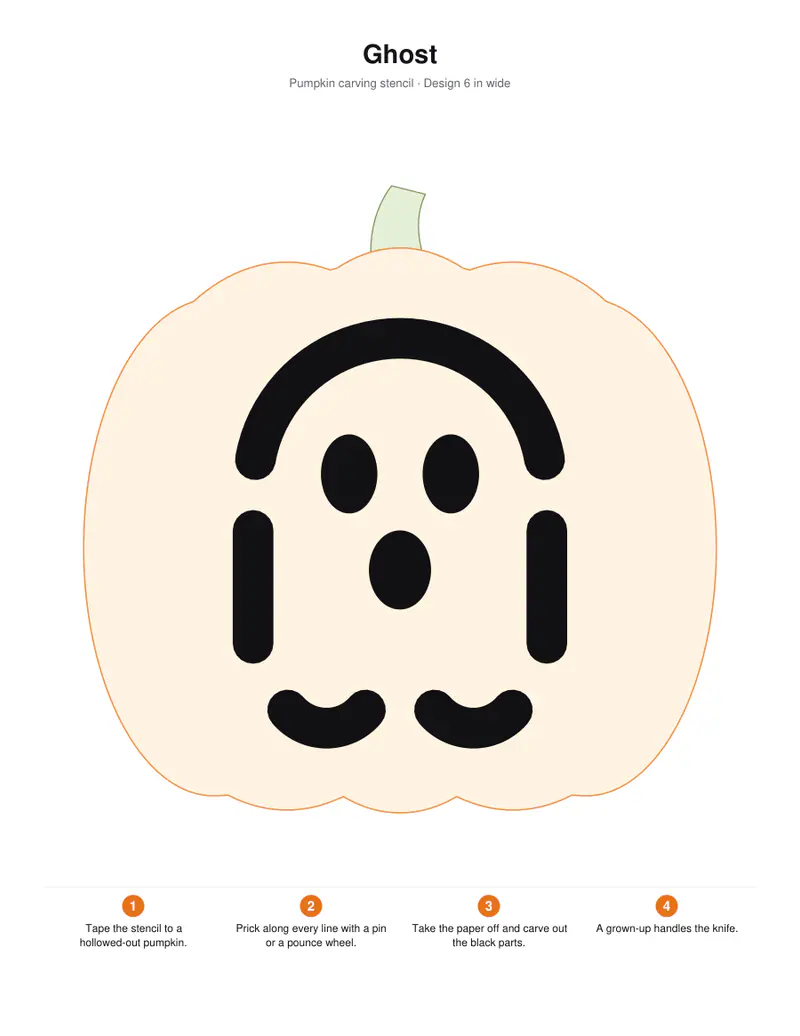
- The four pages are Black cat, Owl, Spider and Bat, one design to a page, its name at the top.
- Under the name: “Pumpkin carving stencil · Design 7 in wide”. On Letter paper Large is 7 in; the black parts are the ones to cut out.
- Along the foot of every page, four numbered steps: tape the stencil on, prick along every line, take the paper off and carve, and a grown-up handles the knife.
- The same settings always give the same designs. Change the design set to 2 and the Owl makes way for a Howling wolf.
| Pumpkin size | Design on Letter | Design on A4 | For a pumpkin about |
|---|---|---|---|
| Small | 4 in | 10 cm | 6 in across |
| Medium | 6 in | 15 cm | 9 in across |
| Large | 7 in | 17.5 cm | 10–11 in across |
pumpkin-stencils.pdf, four Letter pages, one per pumpkin. Scoop the pumpkins out before you tape the paper on; for finer faces for older kids, choose “More detail”.
How it works
- Choose faces, animals or pictures, easy or detailed, and the size of your pumpkin.
- Print, trim the paper and tape the stencil onto the scooped-out pumpkin.
- Prick along the edges with a pin or a poking tool, take the paper off and carve out the black parts.
Frequently asked questions
- How do I transfer a stencil to a pumpkin?
- Tape the paper on, then prick small holes close together along every black edge with a pin, a thumbtack or a poking tool. Take the paper off and the dotted outline shows you where to cut. Rubbing flour over the dots makes them easier to see.
- Which designs are good for beginners and children?
- The easy level has big shapes and thick bridges — children can transfer the design and scoop, while a grown-up does the carving with a small serrated pumpkin saw.
- Why do some shapes have little gaps?
- Those are bridges: they hold the inside of a shape (like the middle of an eye) in place. Cut them out and that piece of pumpkin falls out.
- Which size should I choose?
- Small for a pumpkin about the size of a melon, medium for a typical carving pumpkin, large for a big one. The design should fill about two thirds of the pumpkin’s face.
- How do I get other designs?
- Change the design set number. The same theme and set number always give the same designs in the same order, so a second print matches the first; another number brings the theme’s designs in a new order.
- Why is Large only 7 inches?
- That is the widest the design and the pumpkin outline around it fit on US Letter between the margins (17.5 cm on A4). For a giant pumpkin, scale the page up when you print, or centre the 7 in design and carve a wider rim.
- Is anything uploaded?
- No. The stencils are drawn in your browser.